
Concrete Maintenance | Sealing & Resealing | Gold Coast
Resealing a concrete driveway looks simple. Clean it, roll a sealer on, done. In practice, the sealer itself is roughly 10% of the job. The other 90% is knowing what’s already on the concrete, whether the slab is genuinely dry, what the weather is about to do, and which failure you’re trying to avoid: blushing, delamination, or a finish so glossy it becomes a skating rink in the wet.
This guide covers sealer chemistry, product comparisons, preparation, timing and the specific mistakes that cause most rushed resealing jobs to fail within a year. If your driveway needs more than a reseal, our guide to concrete repairs covers when cracking or spalling needs addressing first.
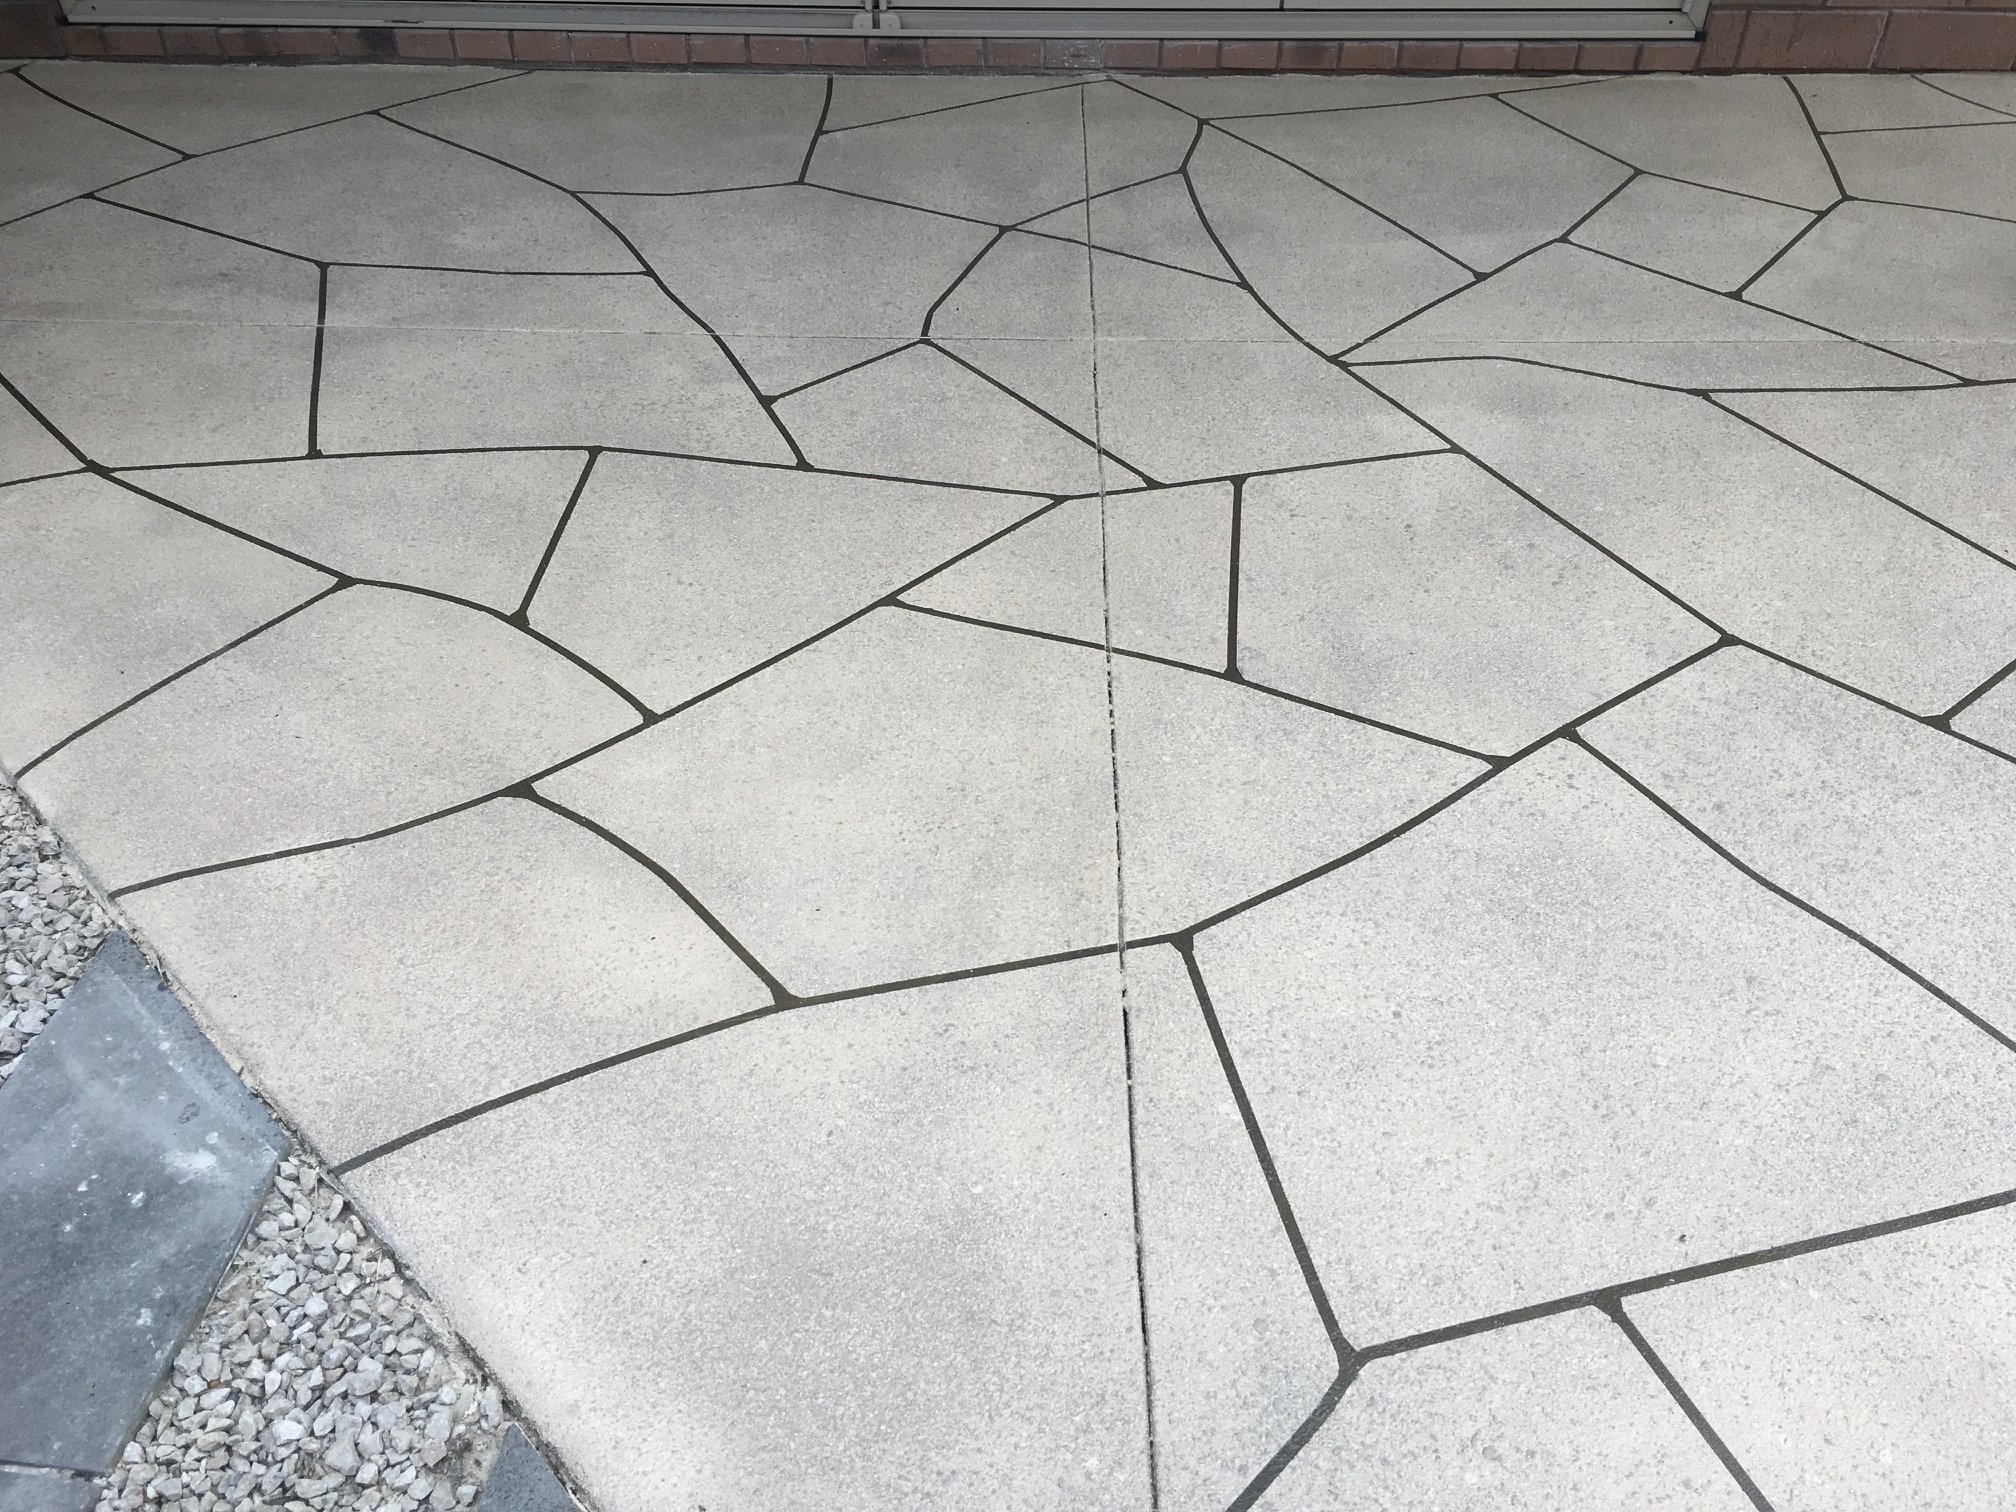
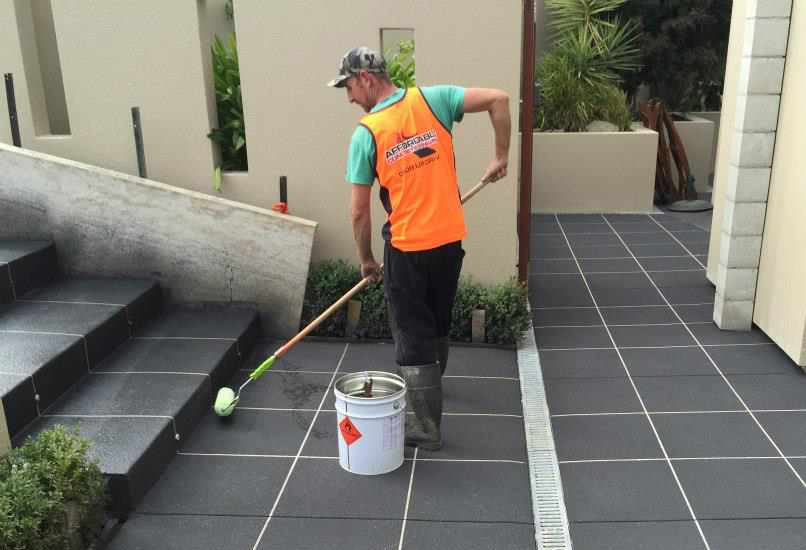
How do you reseal a concrete driveway properly?
Identify the existing sealer type (or confirm there isn’t one), strip or clean back to a sound surface, let the concrete dry completely, choose a sealer compatible with what’s already there, and apply in the right weather window: not before rain, not in direct midday heat, and not into high humidity. Skipping any one of these steps is how you end up with blushing, peeling or an uneven finish within months.
Do You Need to Reseal, or Is There a Bigger Problem?
Before resealing anything, it’s worth knowing what a sealer can and can’t fix. Sealer is a surface protection product. It is not a repair product, a levelling product, or a way to disguise structural movement.
If your driveway has active cracking, movement or surface breakdown rather than just a tired-looking finish, see our guide to concrete repairs to work out whether repair, resurfacing or resealing is the right starting point.
The Two Sealer Families: Penetrating vs Film-Forming
Before getting into solvent vs water-based, there’s a more fundamental split that most driveway guides skip entirely. Sealers fall into two genuinely different families based on how they physically sit on the concrete, and confusing them is a common source of disappointment.
| Property | Penetrating (Silane / Siloxane) | Film-Forming (Acrylic) |
|---|---|---|
| How it works | Absorbs into the concrete’s pore structure and reacts chemically; leaves no visible surface layer | Sits on top of the concrete as a continuous film |
| Appearance | Little to no colour change; concrete looks natural, dry, unsealed | Deepens colour, produces a “wet look” gloss or satin sheen |
| Secures loose aggregate? | No, provides no adhesive or binding effect on the surface | Yes, the film itself helps hold surface stones and fines in place |
| Failure mode | Degrades gradually and invisibly; doesn’t peel or blush | Can blush (whiten), delaminate or peel if applied incorrectly |
| Typical lifespan | 5 to 10 years in exterior conditions | 1 to 3 years for acrylics under vehicle traffic and full sun |
| Slip resistance impact | Minimal, since it doesn’t add gloss or reduce surface texture | Can reduce slip resistance, particularly at higher gloss levels |
Why this decision comes first: if what you actually want is the classic Gold Coast “wet look” exposed aggregate driveway, deep, saturated stone colour with a bit of sheen, you need a film-forming acrylic. A penetrating sealer will protect the slab just as well (often for longer, with less maintenance) but it will look almost exactly like unsealed concrete. Neither is “better” in the abstract; they solve different problems. Older or heavily worn exposed aggregate with stones starting to work loose is also a case where film-forming acrylics have a genuine functional edge, since the film helps bind surface material in a way a penetrating sealer simply doesn’t.
The rest of this guide focuses on film-forming acrylic sealers, since that’s what the large majority of Gold Coast driveways are sealed with and what most resealing enquiries are about. If you’re maintaining a slab currently protected with a penetrating silane or siloxane product, the preparation principles are similar, but the product itself typically doesn’t need stripping back the way a failing acrylic does. Check the manufacturer’s reapplication guidance for the specific product in use.
Solvent-Based vs Water-Based Acrylic Sealers
This is the first real technical decision within the acrylic family, and it affects everything downstream, including whether your next reseal will even bond.
| Property | Solvent-Based Acrylic | Water-Based Acrylic |
|---|---|---|
| Finish | Deeper “wet look” gloss, richer colour enhancement | More matte or satin, subtler colour lift |
| Bond strength | Penetrates slightly, bonds aggressively | Lower film build, more surface-sitting |
| Vapour transmission | Lower breathability; can trap rising moisture if applied too soon | Higher vapour transmission rate, more forgiving in humid coastal air |
| Durability in traffic | Generally harder-wearing under vehicle traffic | Needs more frequent recoating in high-traffic zones |
| Application conditions | Stronger fumes, narrower cure window | Lower odour, more workable in humidity |
| Recoat compatibility | Poor bond over an existing water-based coat | Poor bond over an existing solvent-based coat |
Neither is universally better. The right choice depends on the existing finish, the look you want, and how the driveway is used. What matters more than the choice itself is knowing what’s currently on your concrete before you commit to either.
Comparing What’s Actually on the Shelf
Most Gold Coast homeowners choosing a sealer are comparing products from a small handful of trade and retail brands. It helps to know roughly where each category sits rather than treating every tin on the shelf as interchangeable.
| Product category | Typical examples | Best suited to | Watch out for |
|---|---|---|---|
| Retail water-based acrylics | Bondall-style paving and concrete sealers sold through hardware stores | DIY resealing of plain or lightly decorative concrete, lower-traffic areas | Thinner film build than trade product; shorter reapplication cycle |
| Trade solvent-based acrylics | Crommelin and Boral-branded decorative concrete sealer ranges | Exposed aggregate and coloured concrete driveways wanting a strong wet-look finish | Needs proper ventilation and a genuine dry cure window before traffic |
| Premium exterior coating systems | Dulux AcraTex-style exterior masonry and paving coatings | Higher-end residential and architectural driveways where colour consistency matters | Higher cost; still a film-former, so the same prep rules apply |
| Penetrating silane and siloxane sealers | Specialist penetrating sealer ranges (less common on hardware shelves, more common through trade suppliers) | Anyone prioritising long service life and a natural, unsealed look over gloss | Won’t bind loose exposed aggregate stones; no visible “before and after” for a client wanting a wet look |
Don’t choose a sealer brand before you know which category it belongs to. A retail water-based product and a trade solvent-based product from completely different brands are often more similar to each other, in how they behave and what they’re compatible with, than two products from the same brand that sit in different categories. Ask what the active resin type is, not just the brand name, before buying a second tin to match an existing job.
Checking What’s Already on Your Driveway
Compatibility rule: applying a water-based sealer over an existing solvent-based film (or vice versa) is one of the fastest ways to get delamination, the new coat lifting away in sheets or flakes because it never properly bonded to the layer beneath it. If you don’t know what’s currently sealing your driveway, a small test patch in an inconspicuous corner tells you more than guessing.
If the existing coating is already failing or its type is genuinely unknown, stripping back to bare concrete via mechanical grinding or a chemical stripper is often the safer and cheaper long-term option than layering a new product over an uncertain base.
A Burleigh Heads driveway resealed twice in three years
A common pattern we see: a driveway sealed once, looks great for a year, starts blushing in patches by year two, gets a “quick reseal” from a second contractor without checking the existing coating, and fails again within months. The second coat delaminates almost immediately because nobody identified that the first sealer was solvent-based before a water-based product went over the top.
The solution: not a third quick reseal. The fix is grinding back to bare concrete and starting the sealer system fresh, which costs more upfront than another “quick” recoat but is the only way to actually stop the cycle.
A pool-adjacent driveway that looked great and then someone slipped on it
A high-gloss solvent-based sealer had been chosen for a driveway that wraps around to a pool gate, purely for the wet-look colour. It looked fantastic dry, and dangerously slick the moment it rained or the pool splashed onto it. Nobody had raised slip resistance at the quoting stage because the brief was “make it look good,” not “make it safe near water.”
The solution: the area was reground back and resealed with the same solvent-based product, but with a fine slip-resistant additive mixed into the final coat. The colour and gloss barely changed to the eye, but the surface held traction properly in the wet. This is a five-minute conversation at quoting stage that avoids a genuinely dangerous outcome later.
Preparation: Where the Job Is Actually Won or Lost
- Clean thoroughly. High-pressure cleaning removes dirt, moss, efflorescence and loose material. Oil and grease stains typically need a degreaser pass first, since sealer locks stains in rather than hiding them.
- Open the surface if it’s dense or previously coated. Cured, trowel-finished concrete or a slab with old coating residue often needs its surface profile opened before a new sealer can bond properly, either by diamond grinding or an acid-etch wash followed by full neutralisation. Sealing straight over a closed, glassy surface is a common cause of poor adhesion even when the concrete looks clean.
- Let it dry completely. Concrete needs to be genuinely dry, not surface-dry. A slab can look dry within an hour of cleaning and still be holding significant moisture below the surface.
- Remove failing sealer. Flaking or peeling sealer needs to be stripped back before recoating, since sealing over failing sealer traps the problem under a fresh layer rather than solving it.
- Repair before you seal. Cracks, spalling and damaged edges should be addressed first. See our concrete repairs guide.
- Confirm the weather window. Covered next.
Run a simple moisture test before sealing anything you’re unsure about. Tape a square of clear plastic sheet firmly to the concrete and leave it overnight. If condensation forms underneath by morning, the slab isn’t ready to seal, no matter how dry it looks or feels to the touch.
Weather and Timing on the Gold Coast
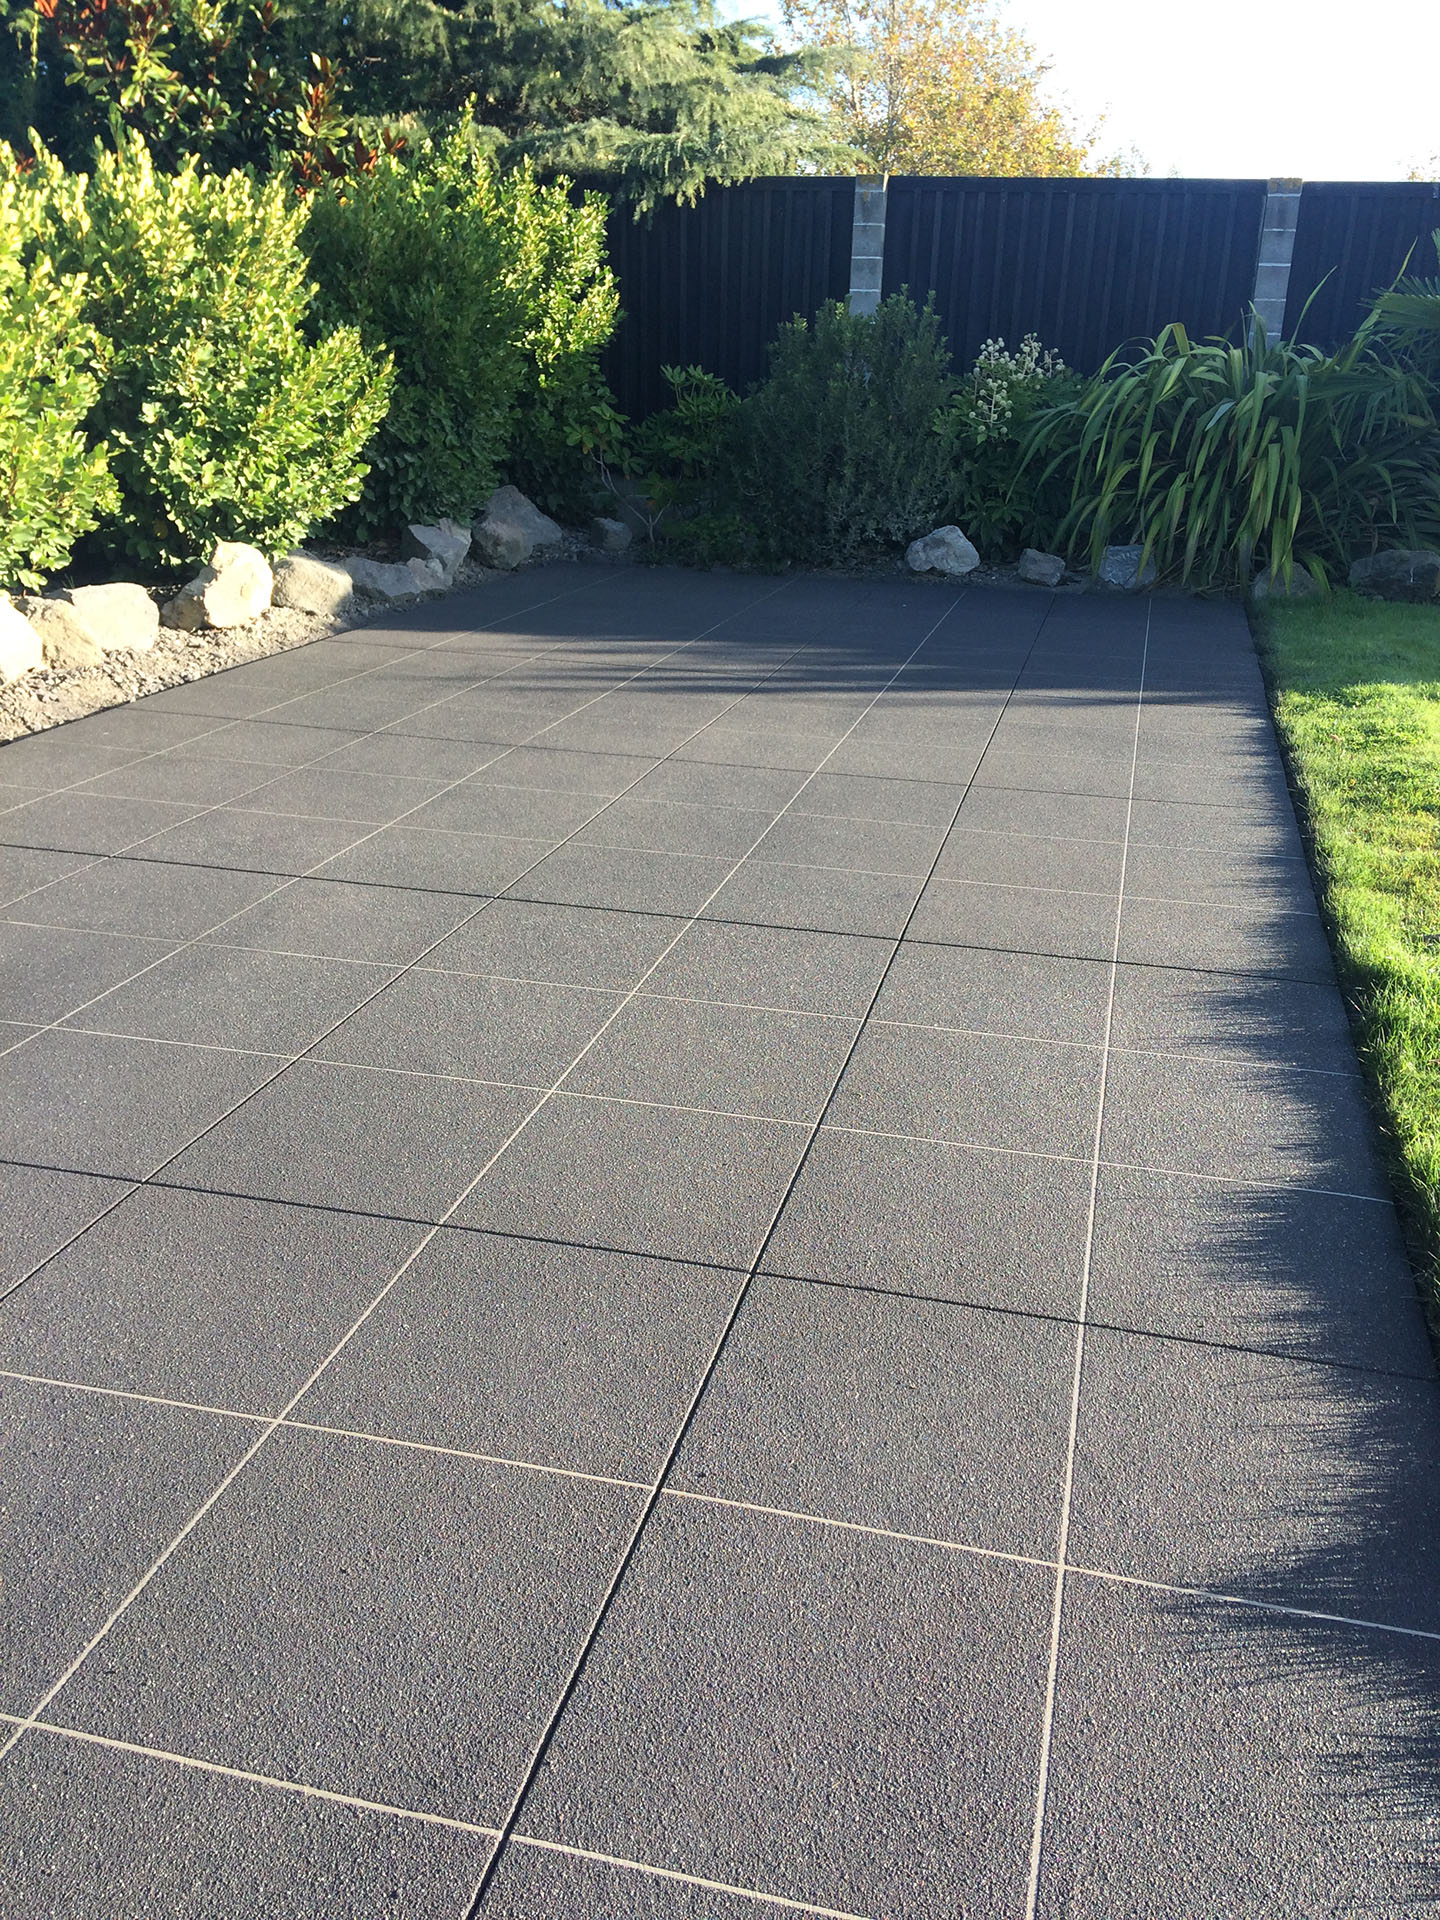
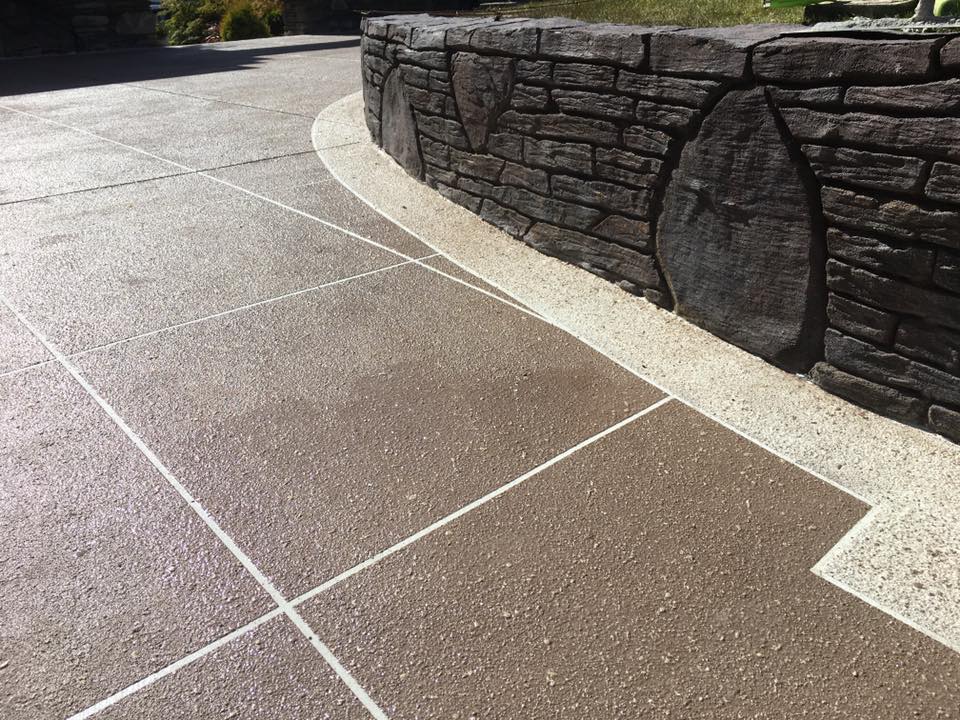
Early morning or late afternoon, mild temperature, low humidity, no rain forecast for at least 24 hours. That window is narrower here than most sealer datasheets assume, because coastal humidity slows solvent flash-off and extends the vulnerable window before the film has cured enough to handle moisture.
- Avoid application before rain. Most sealers need several hours of dry cure time before they can handle surface moisture; rain on fresh sealer causes clouding, whitening or an uneven finish.
- Avoid direct, intense midday heat. The sealer can dry too fast on the surface, trapping solvent underneath and causing bubbling.
- Humidity matters, particularly for solvent-based products. High humidity slows curing and extends the time before the driveway can handle vehicle traffic.
Whitening, Peeling and Slip Resistance
Blushing (Whitening)
Almost always caused by moisture trapped beneath the sealer film during application, either residual dampness in the concrete or humidity during cure. This is the defect that separates a two-day rush job from a properly prepared one. Prevention comes down to genuine dry time and choosing the right conditions to apply.
Delamination (Peeling)
Usually points to one of three causes: sealing over an incompatible existing coating, sealing a contaminated surface, or sealing over trapped moisture. Once a sealer delaminates, the affected sections generally need to be stripped back rather than patched over.
Slip Resistance
Appearance and safety pull in different directions here. A high-gloss solvent-based finish looks the most striking wet, but glossy sealers reduce slip resistance, a real consideration on driveways, ramps, pool surrounds and any sloped surface exposed to Gold Coast downpours.
The relevant standard: in Australia, pedestrian slip resistance is classified under AS 4586, Slip Resistance Classification of New Pedestrian Surface Materials, using the Wet Pendulum Test to assign a P-rating from P1 (very high slip risk) to P5 (very low slip risk). A high-gloss sealed driveway with no additive will often sit well below the P-rating typically recommended for external ramps and sloped pedestrian areas exposed to rain. A slip-resistant additive, typically fine glass beads or a texturing agent, mixed into the final coat measurably improves this without materially changing the colour, and is worth specifying upfront on any sloped or pool-adjacent area.
Common Mistakes We See
The single biggest cause of blushing. Concrete looking dry and concrete being dry are two different things.
Trying to get more protection in one pass usually causes tackiness, bubbling or an uneven sheen rather than better durability.
Without checking compatibility first, layering different chemistries is a reliable way to get delamination.
Sealer locks oil and grease stains in permanently rather than hiding them.
Sealer can’t bridge structural movement, and it often makes underlying damage harder to properly assess and repair later.
Allowing vehicle traffic before the film has properly cured is one of the fastest ways to scuff a brand-new seal coat.
is the typical resealing interval for a Gold Coast driveway under normal vehicle traffic and coastal UV exposure. High-traffic wheel paths and pool-adjacent areas usually need attention at the shorter end of that range.
Maintenance After Resealing
If you’re maintaining an exposed aggregate driveway specifically, a film-forming acrylic does double duty, protecting the surface and helping bind stones that have started to work loose over time, something a penetrating sealer won’t do. See our guide to exposed aggregate colours for how sealing also affects the depth and saturation of stone and oxide colour.
- A light clean every few months removes grit and organic buildup that otherwise abrades the sealer over time
- Reapplication is typically needed every 2 to 4 years, depending on sealer type, sun exposure, traffic and coastal salt exposure
- Oil and fuel stains should be cleaned promptly rather than left to sit into the film
- Watch for early wear in high-traffic wheel paths, since that’s usually where resealing is needed first, well before the rest of the driveway looks tired
Keep a note of what sealer type and brand went down each time you reseal, and the rough date. It sounds unnecessary until you’re standing on the driveway five years later trying to work out whether it’s safe to recoat, and the answer depends entirely on getting that compatibility question right the first time.
When Resealing Isn’t Enough
If you’ve resealed and the problem keeps returning, recurring blushing, delamination, or a driveway that still looks patchy no matter what’s applied, that’s often a sign the underlying concrete has a problem sealer can’t fix: moisture ingress from below, surface contamination re-emerging through the film, or early-stage spalling. At that point it’s worth getting a proper assessment rather than resealing again. Our concrete repairs and resurfacing pages cover what those next steps look like, and our guide to resurfacing vs replacement is worth reading if the problem looks structural rather than cosmetic.
Resealing FAQs
How often should a concrete driveway be resealed?
Typically every 2 to 4 years, depending on sealer type, sun exposure, traffic levels and coastal weather conditions. High-traffic wheel paths often need attention sooner than the rest of the driveway.
Should I use a penetrating sealer or a film-forming acrylic sealer?
A film-forming acrylic gives the classic “wet look” gloss and helps bind loose surface aggregate, but needs reapplication every 1 to 3 years and can affect slip resistance. A penetrating silane or siloxane sealer leaves the concrete looking natural and unsealed, typically lasts 5 to 10 years, and won’t secure loose stones. If appearance and stone binding matter, choose acrylic; if invisible, long-lasting protection matters more than looks, choose penetrating.
Can I apply a water-based sealer over a solvent-based sealer?
Not usually without proper preparation. Different sealer chemistries often don’t bond to each other, which can cause delamination, bubbling or a hazy finish. If you’re not sure what’s currently on your driveway, a test patch or professional assessment is the safer route.
Why has my driveway sealer gone white or cloudy?
This is blushing, usually caused by moisture trapped under the sealer during application, either residual dampness in the concrete or humid conditions during cure. It’s the most common resealing defect.
Can sealing fix a cracked concrete driveway?
No. Sealer is a surface protection product, not a repair product. Cracks, spalling or movement need to be addressed separately before resealing, otherwise the underlying issue continues underneath the new coat.
Does resealing make a driveway slippery?
Glossy, solvent-based finishes reduce slip resistance when wet and typically sit at the lower end of the AS 4586 P-rating scale without an additive. A slip-resistant additive, such as fine glass beads, can be added to the final coat, and it’s worth raising before the job is done rather than after.
Not Sure What’s Currently Sealing Your Driveway?
Send OSM Concrete a few photos of the surface and let us know its age and any past resealing history. We’ll tell you what’s likely on there, whether a reseal will hold, or whether repair or resurfacing needs to happen first.
Request a Site Assessment